Including source code in this blog
I write these blog posts with MarsEdit. And, while I am writing, I preview the blog post with Marked 2 (start Marked 2 and choose Preview → MarsEdit Preview from the menu). And since my writing usually is about programming, the blog posts might contain source code. My approach is similar to how I include source code in papers, and I was writing about it back in 2015. So, this is an update on how I do it now. I also just moved my blog posts to WordPress, so the setup is a little bit different.
But I still use Pygments and its pygmentize command-line tool. To generate the HTML used for source code in my blog posts, I can do this (for the small example program test.py:
pygmentize -f html qt-test.py | pbcopy
Now, the generated HTML is in the clipboard (see the man pages for pbcopy on your Mac). I can then paste the generated HTML directly into my blog post:
import sys
from PySide2.QtWidgets import QApplication, QLabel
app = QApplication(sys.argv)
label = QLabel("Hello World!")
label.show()
app.exec_()
This HTML code uses a specific styling. In HTML, I need the corresponding CSS code. The CSS is generated with the pygmentize command-line tool:
pygmentize -f html -S default | pbcopy
Again, the resulting CSS code is in the clipboard, and I can paste it into the correct place at the blog host. In WordPress, it is Customize → Additional CSS. I also paste this into the preview templates of Marked 2 and MarsEdit. In this example, I used the default style of Pygments. Other styles are available. You can list them all with this command:
pygmentize -L styles
Sometimes, I want to insert a code snippet into my blog post. The easiest way to do this is to copy the code you want to include to the clipboard and then execute this command (in this example, the code snippet is Python code):
pbpaste | pygmentize -l python -f html | pbcopy
Since I'm doing this a lot, I have created a set of aliases in my shell. The following are for Python, AppleScript, Bash, and LaTeX. For each programming language, I have one alias to generate HTML and one to generate LaTeX:
alias cbpy2html='pbpaste | pygmentize -l python3 -f html | pbcopy'
alias cbpy2ltx='pbpaste | pygmentize -l python3 -f latex | pbcopy'
alias cbas2html='pbpaste | pygmentize -l applescript -f html | pbcopy'
alias cbas2ltx='pbpaste | pygmentize -l applescript -f latex | pbcopy'
alias cbsh2html='pbpaste | pygmentize -l bash -f html | pbcopy'
alias cbsh2ltx='pbpaste | pygmentize -l bash -f latex | pbcopy'
alias cbltx2html='pbpaste | pygmentize -l latex -f html | pbcopy'
alias cbltx2ltx='pbpaste | pygmentize -l latex -f latex | pbcopy'
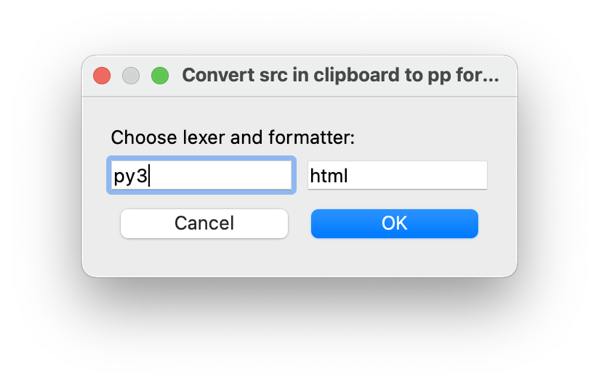
I wanted to take it one step further. I wanted a version of the program that is a Mac app that I can easily run from Spotlight, Alfred, or other similar app launchers. This app should pop up a window asking for the programming language of the code snippet (lexer) and the format to generate (formatter). I created a Python program that presented this GUI (using Qt and PySide2; see this older blog post for more details on Qt and Python):

The Python program is available here: cb-src-to-doc. To run it with the GUI, use the -i argument (and no other arguments). You can also use this program as a command-line tool where the -l argument specifies the programming language (lexer), and the -f argument specifies the output format (formatter). For example, this command is equal to the cbpy2html alias above (I have installed cb-src-to-doc.py as cb-src-to-doc in ~/bin):
cb-src-to-doc -l python3 -f html
The Python program cb-src-to-doc.py is not a Mac app yet. I could have used tools like py2app or PyInstaller, or I could create an App from a small shell script calling the Python program following this approach. But my experience is that the most efficient way is to create a one-line AppleScript program. I create a file CB-Src-2-Doc.applescript with this one line of code:
do shell script "(cd; . .env; bin/cb-src-to-doc -i)"
Then I compile it to the Mac app CB-Src-2-Doc.app and copy it to my Applications folder with these two commands:
osacompile -o CB-Src-2-Doc.app CB-Src-2-Doc.applescript
cp -R CB-Src-2-Doc.app $HOME/Applications/CB-Src-2-Doc.app
Now, I can easily launch the application with my preferred application launcher.